


Looking for tips and tricks to use your Apple Pencil more efficiently? You’ve come to the right place!
The Apple Pencil, both the 1st and the 2nd generation, is nothing short of the excellence Apple is known for. While the name might once again play into the stereotype of the company laying claim to everyday inspiration, the product itself is versatile and has many uses.
The introduction of the Apple Pencil in September 2015 has revolutionized the market. Of course, no critic will allow you to forget that Steve Jobs, the former CEO, God rest his soul, hated the idea of a stylus, even going so far as to call it “Yuck!”. However, everyone knows that when Apple decides to do something, it throws all it has at the product, which is why the consumer has come to expect nothing less than perfection from this tech giant.
Let’s take a look at our top 10 tips and tricks to get the best out of your Apple Pencil.
-
Pair Your Pencil
Pairing the Apple Pencil to your iPad is super easy. If you’ve got the 1st generation Apple Pencil, uncap it, plug it into the iPad and tap on PAIR when the request pops up on your screen.
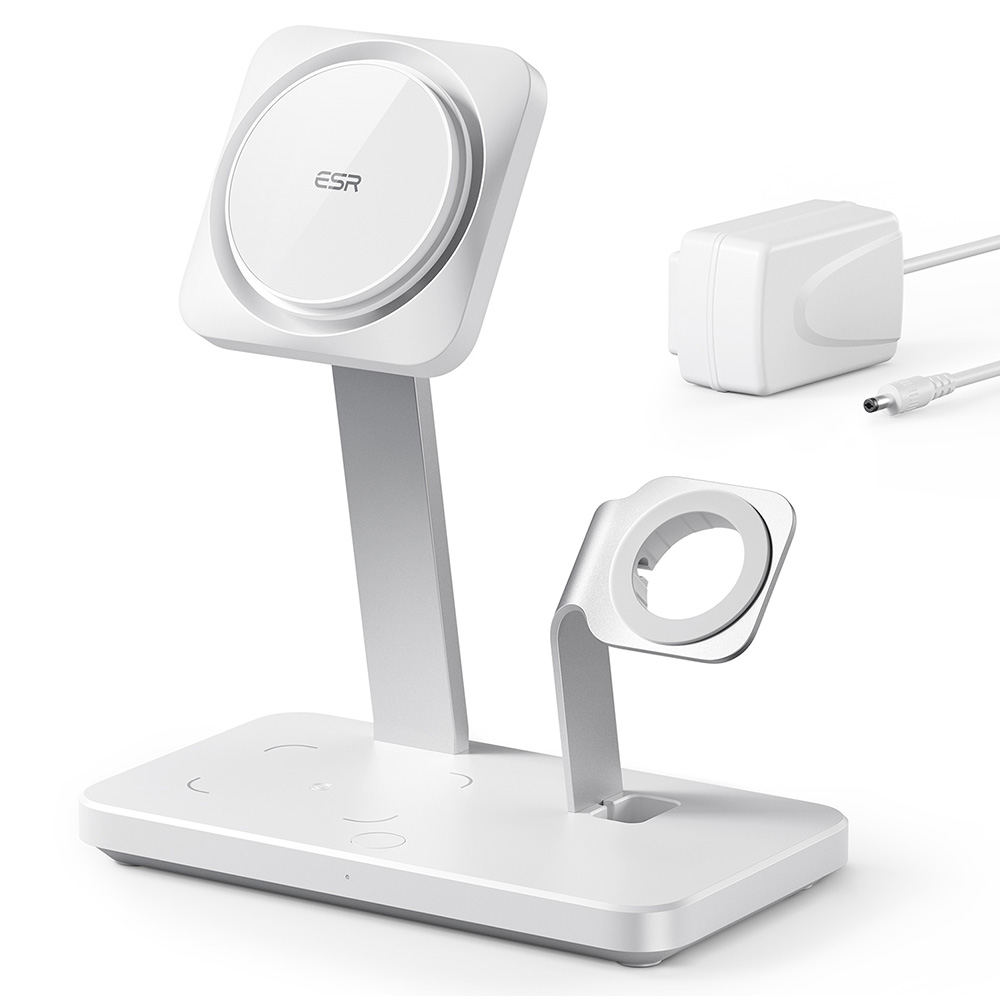
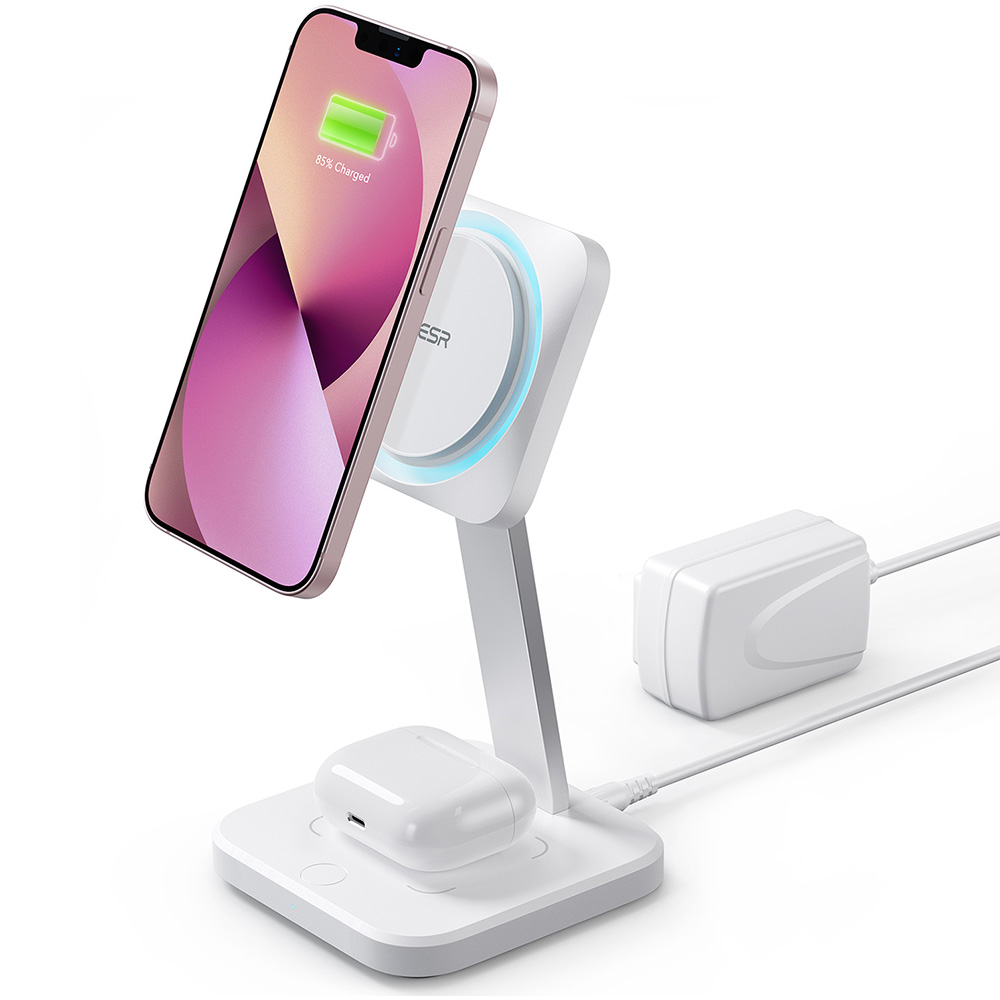
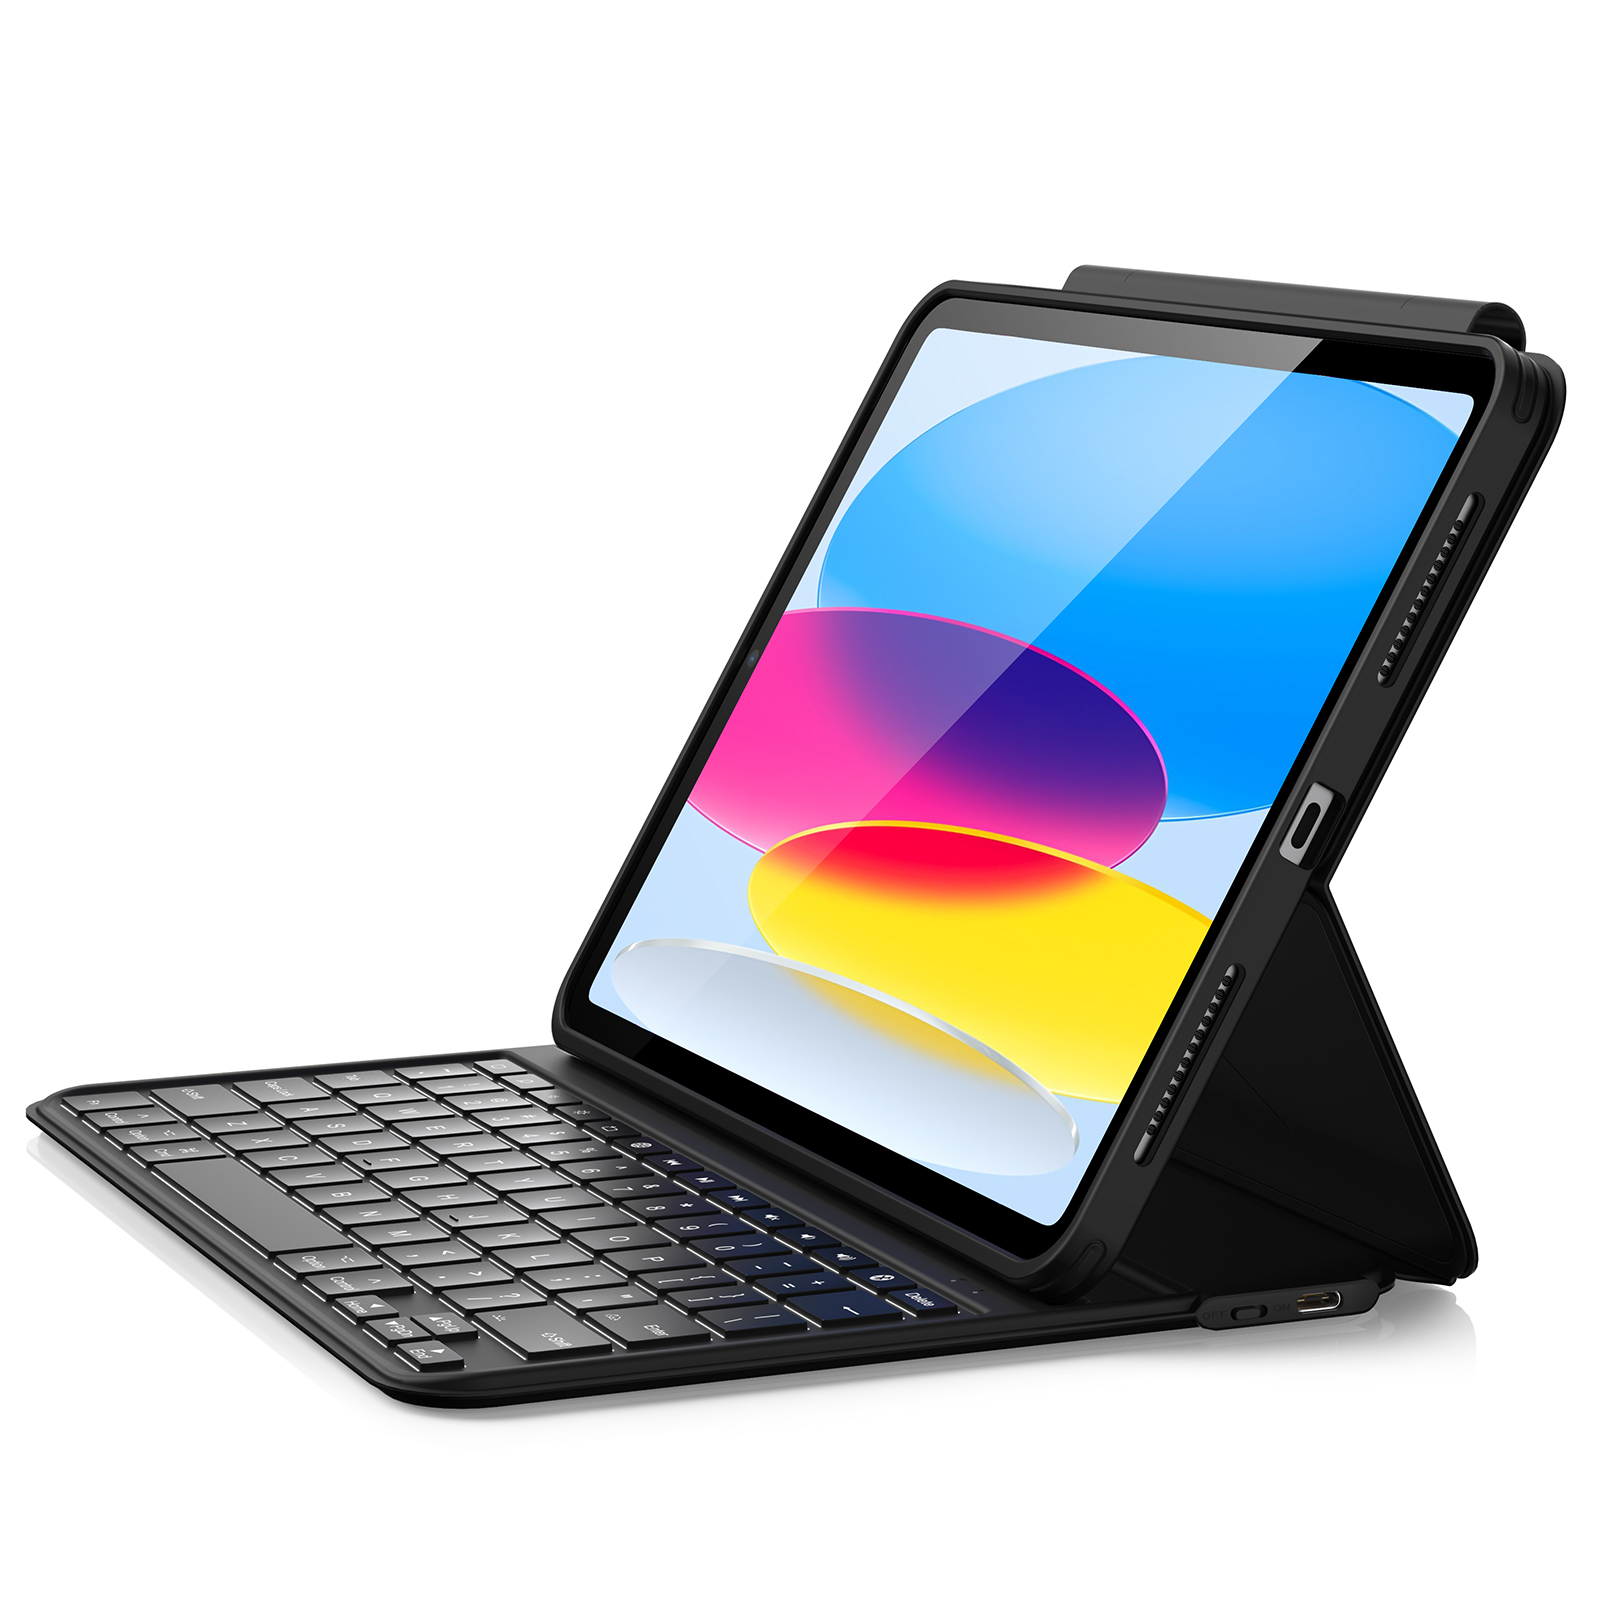
Save 25% OFF MagSafe Charger with code: ESRBLOG
The 2nd generation Apple Pencil is even easier to pair. Place the Pencil on the wider side with the magnetic strip on the iPad Pro and tap on PAIR when the request appears.
-
The Tip of Your Apple Pencil Can Be Easily Replaced
If your Pencil’s tip is wearing out, don’t be afraid to replace it by gently unscrewing the tip and using the extra one in the box. Alternatively, if you’ve gone through that one too, you can always buy a 4 pack from the Apple website for 19 dollars.
-
The Palm Rejection Feature
Apple upped its game when it introduced the Palm rejection feature on the new iPad Pro. No more third-party apps that make you disable features to be able to draw or write with your Pencil in peace.
Your iPad will recognize the Pencil and will reject any extra contact that your palm will have with the screen, resulting in fewer errors and accidental drawings.
-
Check Your Pencil’s Battery Levels
The Apple Pencil boasts of the ability to charge super quickly. A 10 second charge will allow you to use it for about 30 minutes. There’s an easy way to check your Apple Pencil’s battery levels. Hint: It involves a widget.
Pull up the widgets on your iPad. To do this, swipe all the way left on the home screen to the Today View screen. If you already have the Batteries widget, awesome! If you don’t, here’s what you do.
Scroll to the bottom of the Today View screen and tap on EDIT. A list of widgets will pop up next. Scroll down to the Batteries Widget and click on the green + and then on DONE. Your Apple Pencil should appear on the list of devices with its current battery strength.
-
Draw Straight Lines
Use the Ruler in the Notes app and draw straight lines with your Apple Pencil. Select the Ruler and place it on a note with two fingers. No more crooked, free-hand drawing needed!
-
Tap on The Lock Screen with Your Apple Pencil
One of the most useful and default features of the Apple Pencil is that you can create a new note or edit one by simply tapping the Lock Screen with the tip of your Apple Pencil. This feature is super useful when it comes to taking urgent notes or wanting to sketch something in a hurry.
-
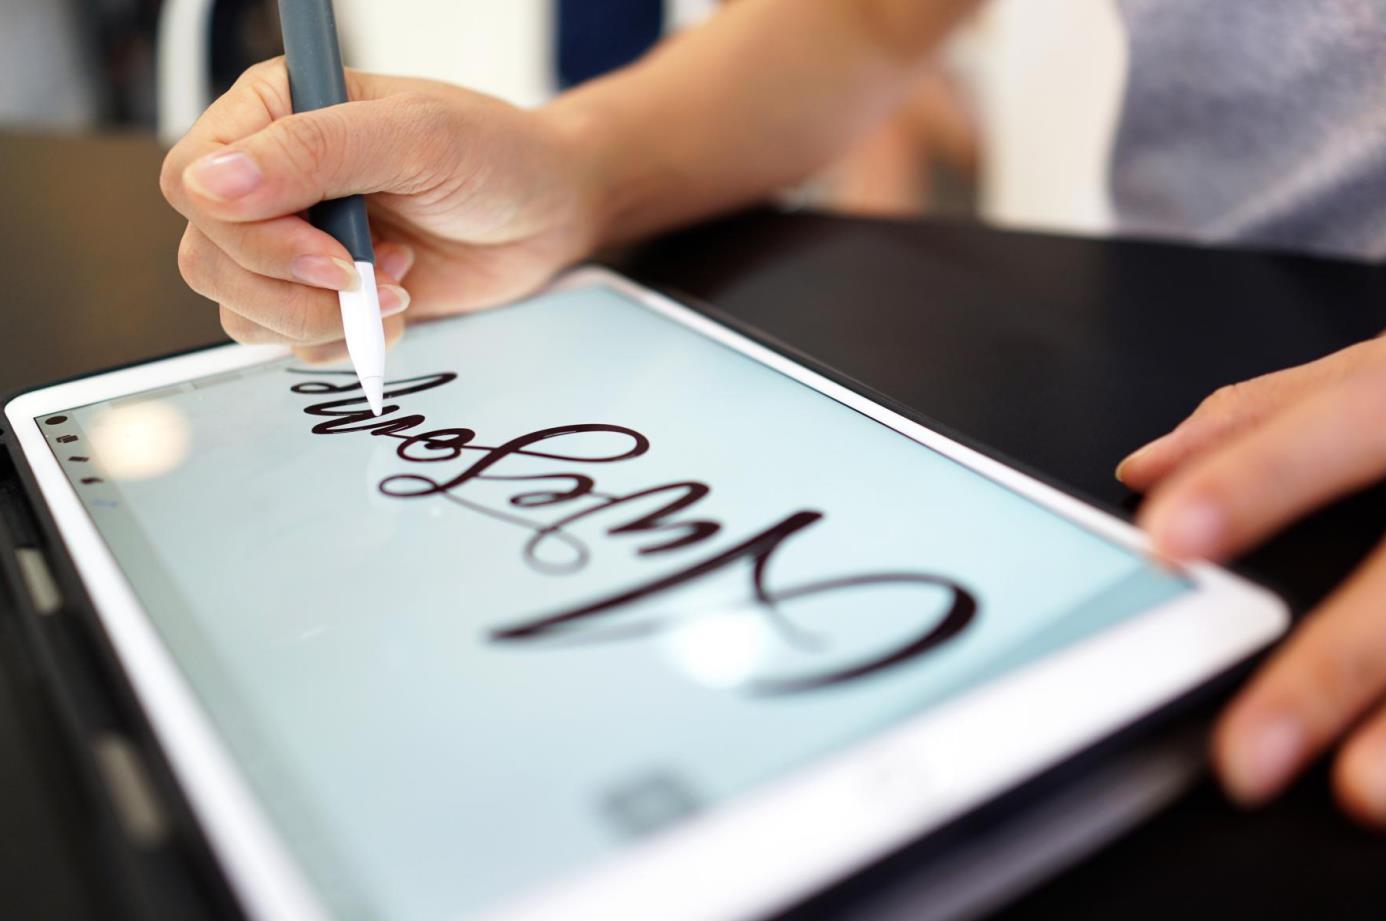
Use Your Apple Pencil to Sign Documents
Another useful feature of the Notes app when you have an Apple Pencil is to be able to scan and sign a document quickly. In the Notes app, if you tap on the + icon, you’ll see the option of SCAN DOCUMENT. If you tap on this, the iPad takes a quick scan/photo of the document, and you can go ahead and sign it with your Apple Pencil. Pretty nifty, I’d say!
-
Trace with your Apple Pencil
Of course, you can write and draw with your Apple Pencil, everyone knows that! But did you know that you can also trace images onto your iPad from a sheet of paper with your Pencil?
If you’ve got a drawing or sketch on a piece of paper and you want to transfer it to your iPad, simply place the paper on the screen of the device and trace it with your Pencil. The iPad will recognize the strokes of the Pencil. I find this a super neat feature that makes sketching so much easier!
-
Shading with Your Apple Pencil
When you are sketching on your iPad, you can change the angle you are holding the Apple Pencil at, to be able to shade your sketches and give them some definition. You can also increase pressure on the tip of the Pencil to make darker and thicker lines.
-
Customize the Double Tap
If you have the Apple Pencil 2, you can customize the double-tap of the Pencil and the corresponding action. You can choose among the options displayed in the Setting app. Some of the options include double tap to activate the eraser function or even between the last function used.
No matter what you use your Apple Pencil for, it’s easy to see that Apple has come up with a brilliant accessory with some superb uses, especially if you need to take quick notes or love to draw and sketch. Be sure to get protective accessories for your Apple Pencil, such as this ESR Apple Pencil Holder that is available in Rose Gold, Gray, and Black.
Of course, we also understand that the Apple Pencil is slightly more expensive than the other available options today. Take a look at this list for alternatives to the Apple Pencil and check out the ESR Digital Pencil available for $63.98 only.
Till next time!
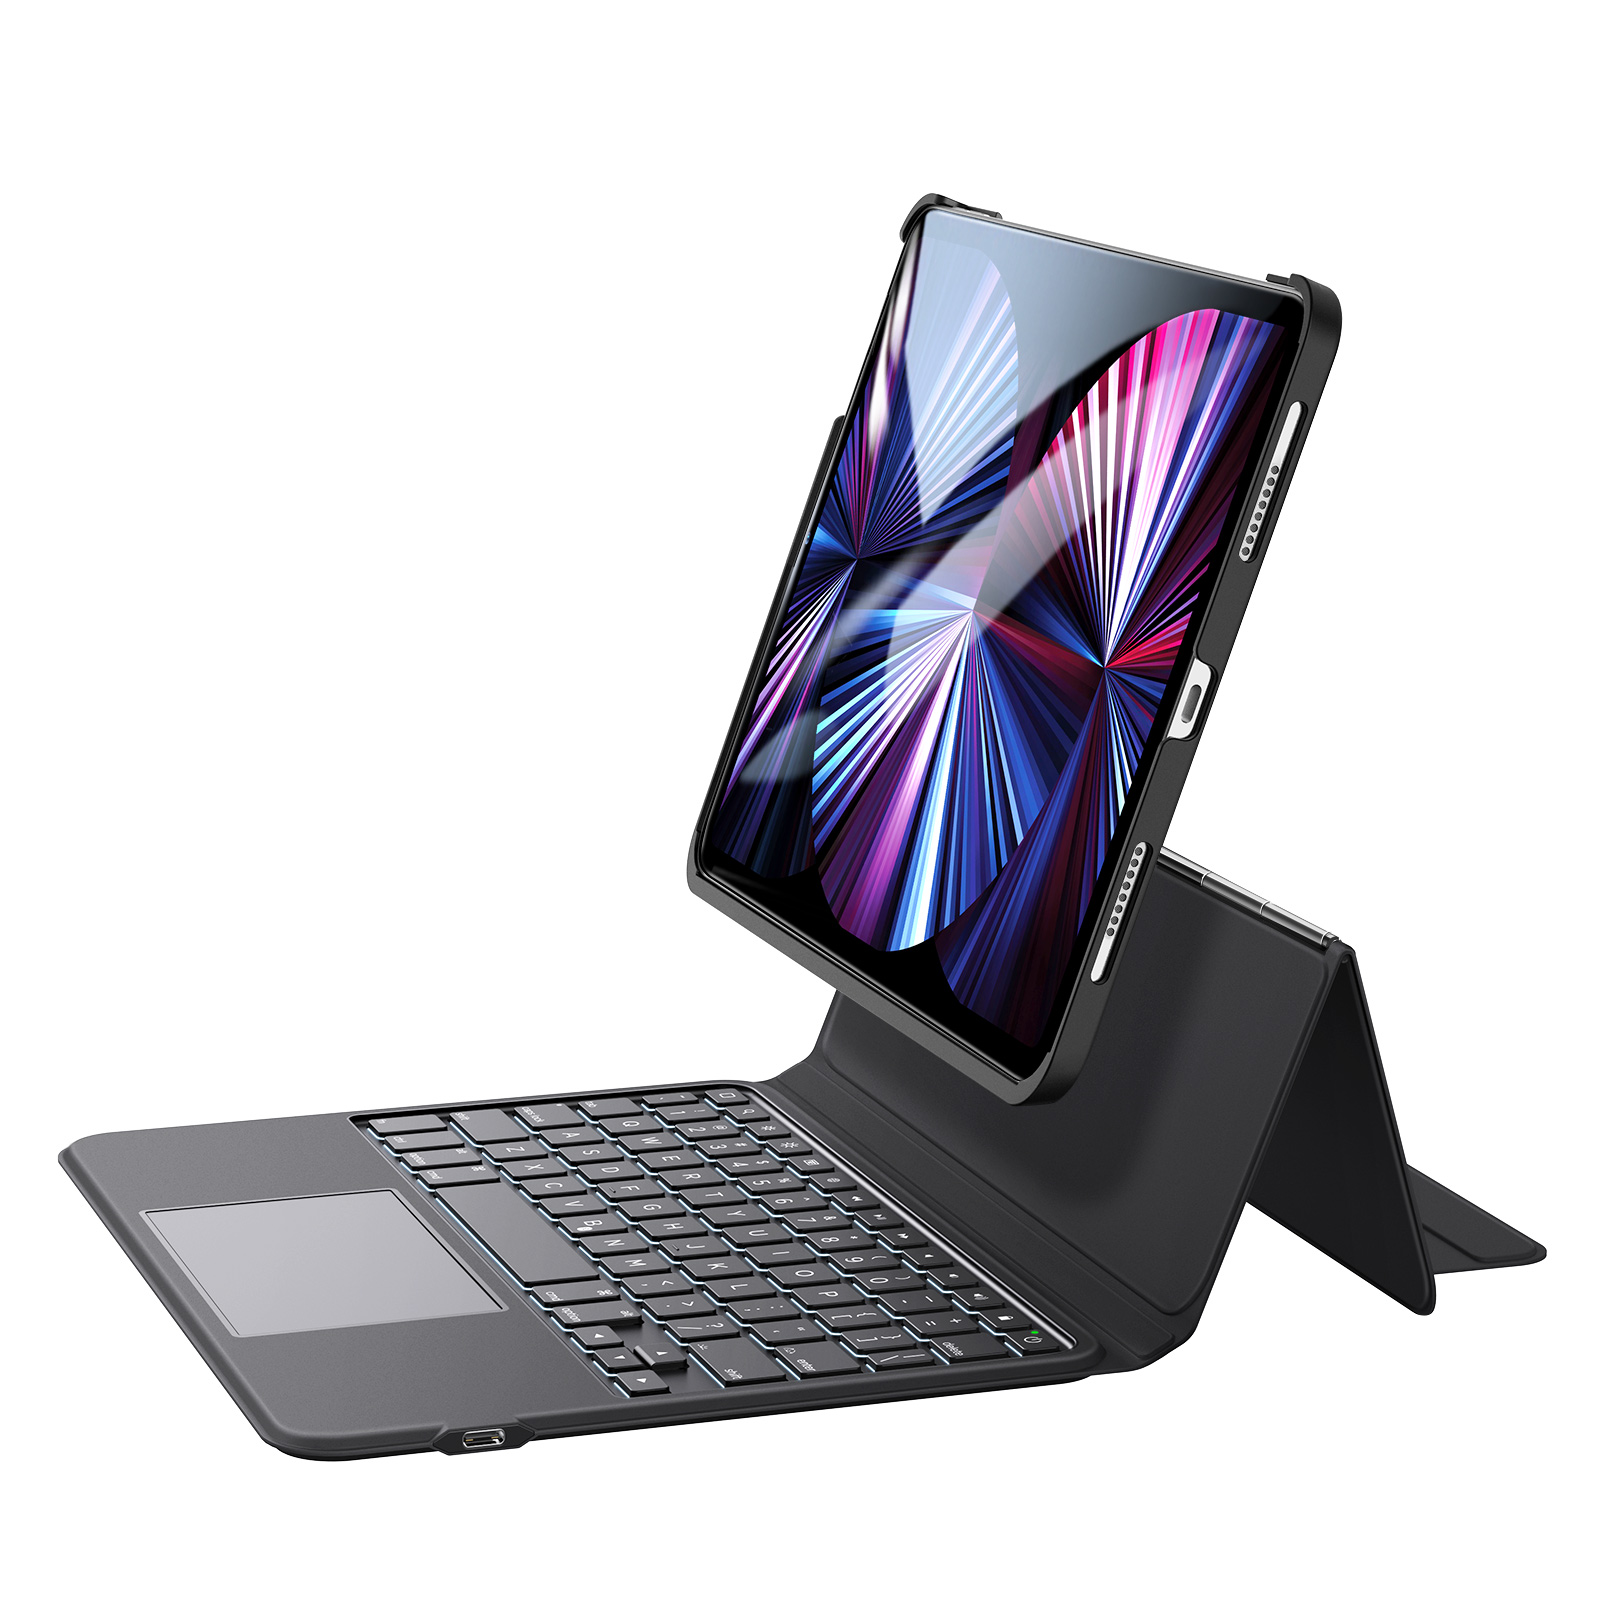
Save 30% OFF iPad Keyboard Case with code: KEY30
 Cases Fit iPad Air 6 (2024)?")
 Cases Fit iPad Air 12.9?")
