


We’ve all been in a situation where downloading or saving an image isn’t possible. It can get really frustrating at times, so luckily smartphone manufacturers have provided us with a Holy Grail to save the day. By simply clicking a few buttons you’ll instantly be able to capture whatever is on your screen! Whether it’s a funny meme, your favorite video moment, or more importantly a risky text your group chat has to read. It’s definitely a powerful tool, with a lot of implications. But how do you take a screenshot?
Taking a screenshot on an iPhone X, iPhone XS, and iPhone XR.
Ever since Apple ditched the physical home button on the iPhone X back in 2017 to accommodate the new display and to introduce the face unlocking technology we love today. Taking a screenshot on these newer models without the home button has slightly changed, and is still very simple. Here’s a rundown on how to do it:
- Align and get whatever you want to take a screenshot on the screen. Try not to touch the screen while doing the next steps to avoid a blurry or wrong screenshot.
- Press the power button, which should be situated on the right side of your iPhone. Use your right index finger or thumb for an easier reach and click.
- Whilst pressing the power button, simultaneously press the volume up button situated on the left side of your iPhone. Similarly, you can use your left index finger for a better reach and click.
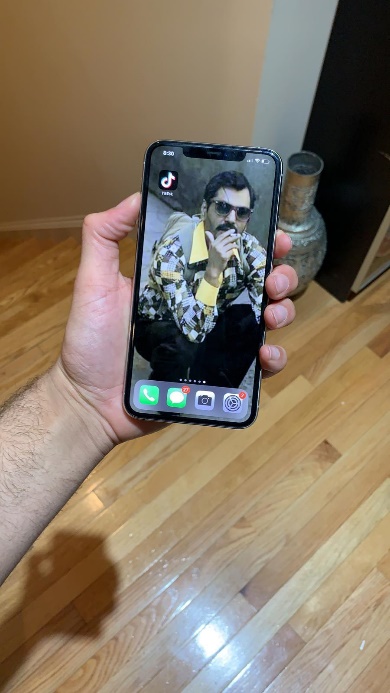
- If done correctly, a quick white flash should be seen on the screen. And you’ll notice the image of your taken screenshot on the bottom left corner of your screen.
- You can tap the image on the bottom left of your screen to view your screenshot and edit it. Else just swipe it away with a sliding up motion or just wait a few seconds for it to go away automatically.
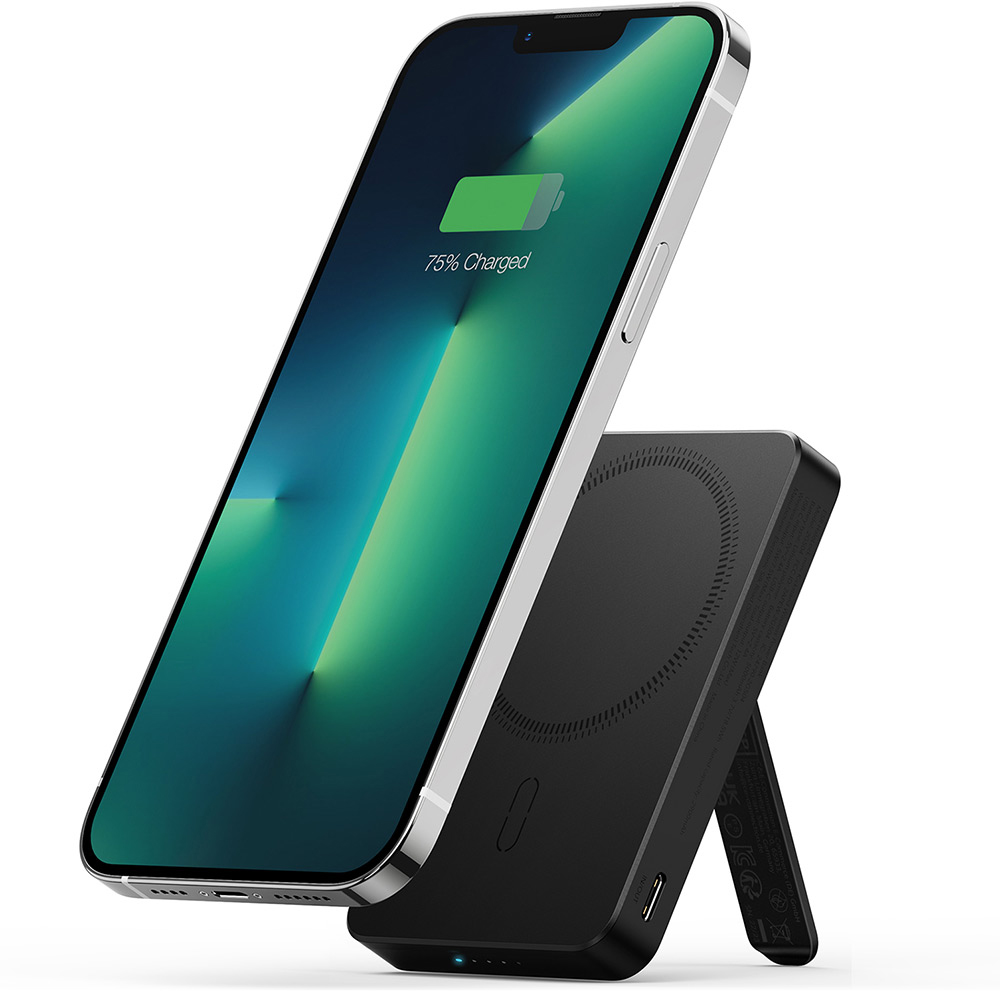
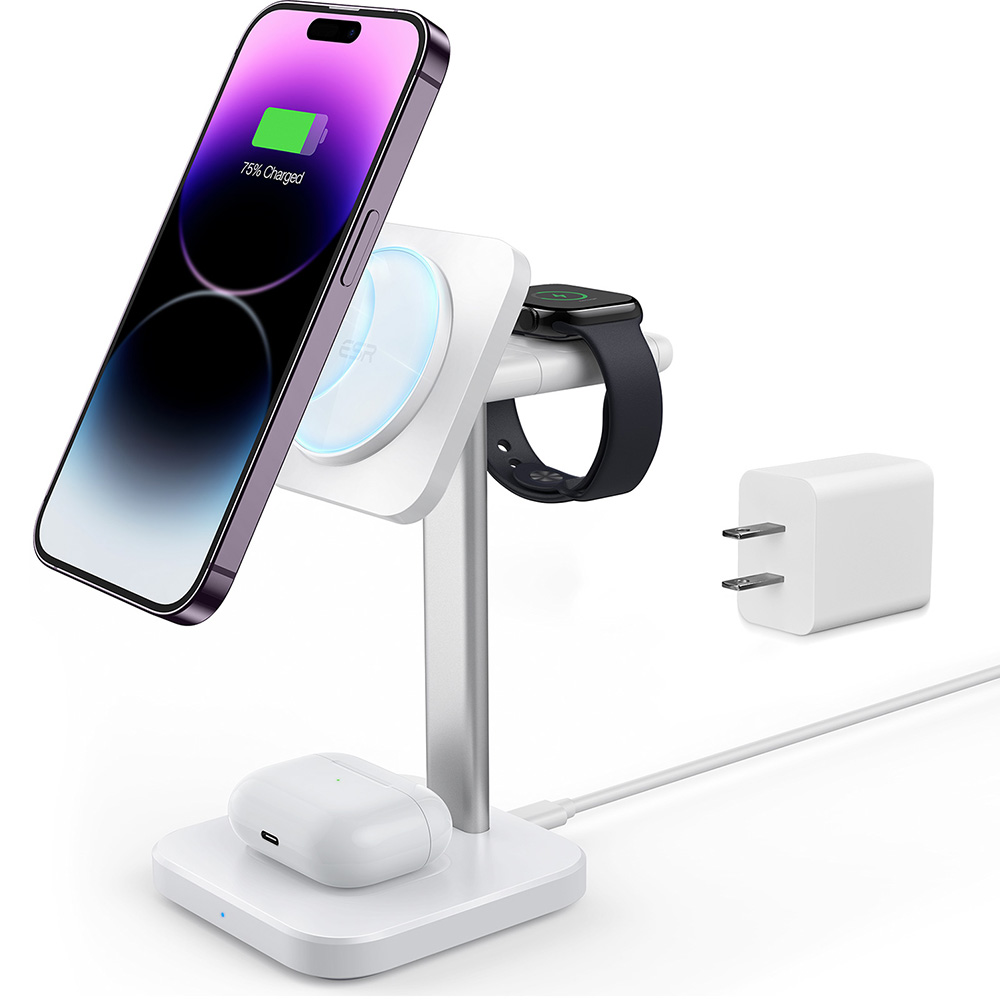
Save 25% OFF MagSafe Charger with code: ESRBLOG


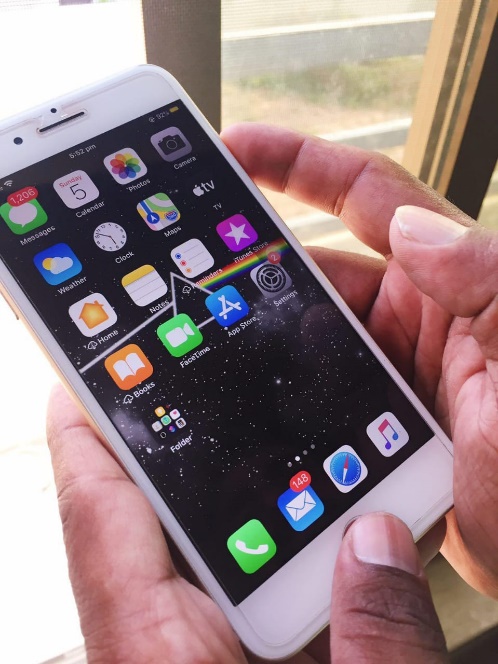
Taking a screenshot on an iPhone SE 2020 and iPhone 8 or older.
Don’t worry if you don’t have the latest iPhone, you can take a screenshot anyway. The older iPhones have a dedicated home button with an inbuilt fingerprint scanner, which is used to take the screenshot. Here’s how:
- Align and get whatever you want to take a screenshot on the screen. Try not to touch the screen while doing the next steps to avoid a blurry or wrong screenshot.
- Press the power button, which should be situated on the right side of your iPhone, Or on the top of your device depending on the model. Use your right index finger or thumb for an easier reach and click.
- Whilst pressing the power button, simultaneously press the home button situated on the bottom of your iPhone. Similarly, you can use your left index finger or thumb for a better reach and click.
- If done correctly, a quick white flash should be seen on the screen. And you’ll notice the image of your taken screenshot on the bottom left corner of your screen.
- You can tap the image on the bottom left of your screen to view your screenshot and edit it. Else just swipe it away with a sliding up motion or just wait a few seconds for it to go away automatically.
Taking a screenshot on the IPad Pro or newer.
After ditching the home button on the iPhone in 2017, Apple soon did the same with its latest IPad in 2018. Allowing for a more seamless design and that important face scanner. Taking a screenshot is still possible and just as easy, here’s how:
- Align and get whatever you want to take a screenshot on the screen. Try not to touch the screen while doing the next steps to avoid a blurry or wrong screenshot.
- Press the power button, which should be situated on the top right of your IPad. Use your right index finger for an easier reach and click.
- Whilst pressing the power button, simultaneously press the volume up button situated on the right side of your IPad Pro. Similarly, you can use your right thumb for a better reach and click.
- If done correctly, a quick white flash should be seen on the screen. And you’re screenshot should automatically be saved to your camera roll.
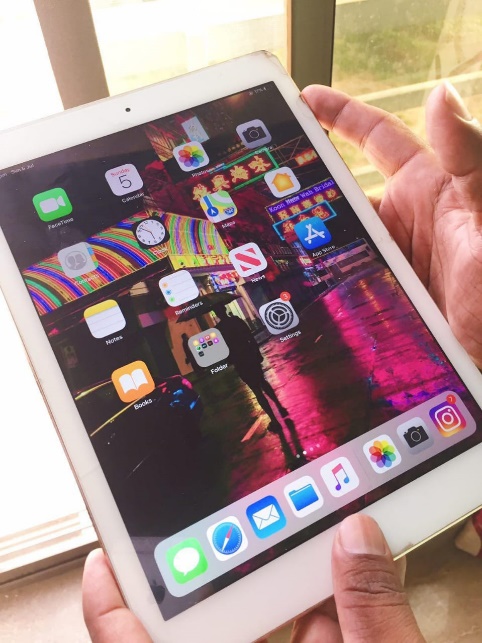
Taking a screenshot on an IPad 2019, IPad Mini, or older.
Much like the older iPhones, all the other IPad versions have the screenshot functionality. The only difference being the use of the home button. Here’s how:
- Align and get whatever you want to take a screenshot on the screen. Try not to touch the screen while doing the next steps to avoid a blurry or wrong screenshot.
- Press the power button, which should be situated on the top right of your IPad. Use your right index finger for an easier reach and click.
- Whilst pressing the power button, simultaneously press the home up button situated on the bottom of your IPad. You can use your left thumb for a better reach and click on the home button.
- If done correctly, a quick white flash should be seen on the screen. And you’re screenshot should automatically be saved to your camera roll.
How to activate the Assistive Touch button.
Activating and using the assistive touch on Apple devices is proven to be very fruitful. The assistive touch button can be moved to every corner and side of your device. Clicking it reveals a variety of options including a screenshot button which is useful if you have a faulty button. Here’s how to activate the assistive touch and take a screenshot:
- Tap “Settings” on your Apple device of choice
- Go to Settings > General > Accessibility > Assistive Touch.
- Clicking the little slider should pop up around the digital floating button
Taking Screenshots using the Assistive Touch:
Tap the assistive touch button:
- You’ll see a few options. Click on Device > More
- There you’ll see a screenshot button. Tap it to take a screenshot.
- You’ll experience the same quick flash on screen as taking the screenshot the normal way.
Screenshot did not register on your device?
If your screen doesn’t flash and you don’t hear the shutter sound, try clicking the buttons again. Happens to the best of us, but you’ll get used to timing the button combination perfectly. Or you’ll just stick to the alternative option of using the assistive touch button.
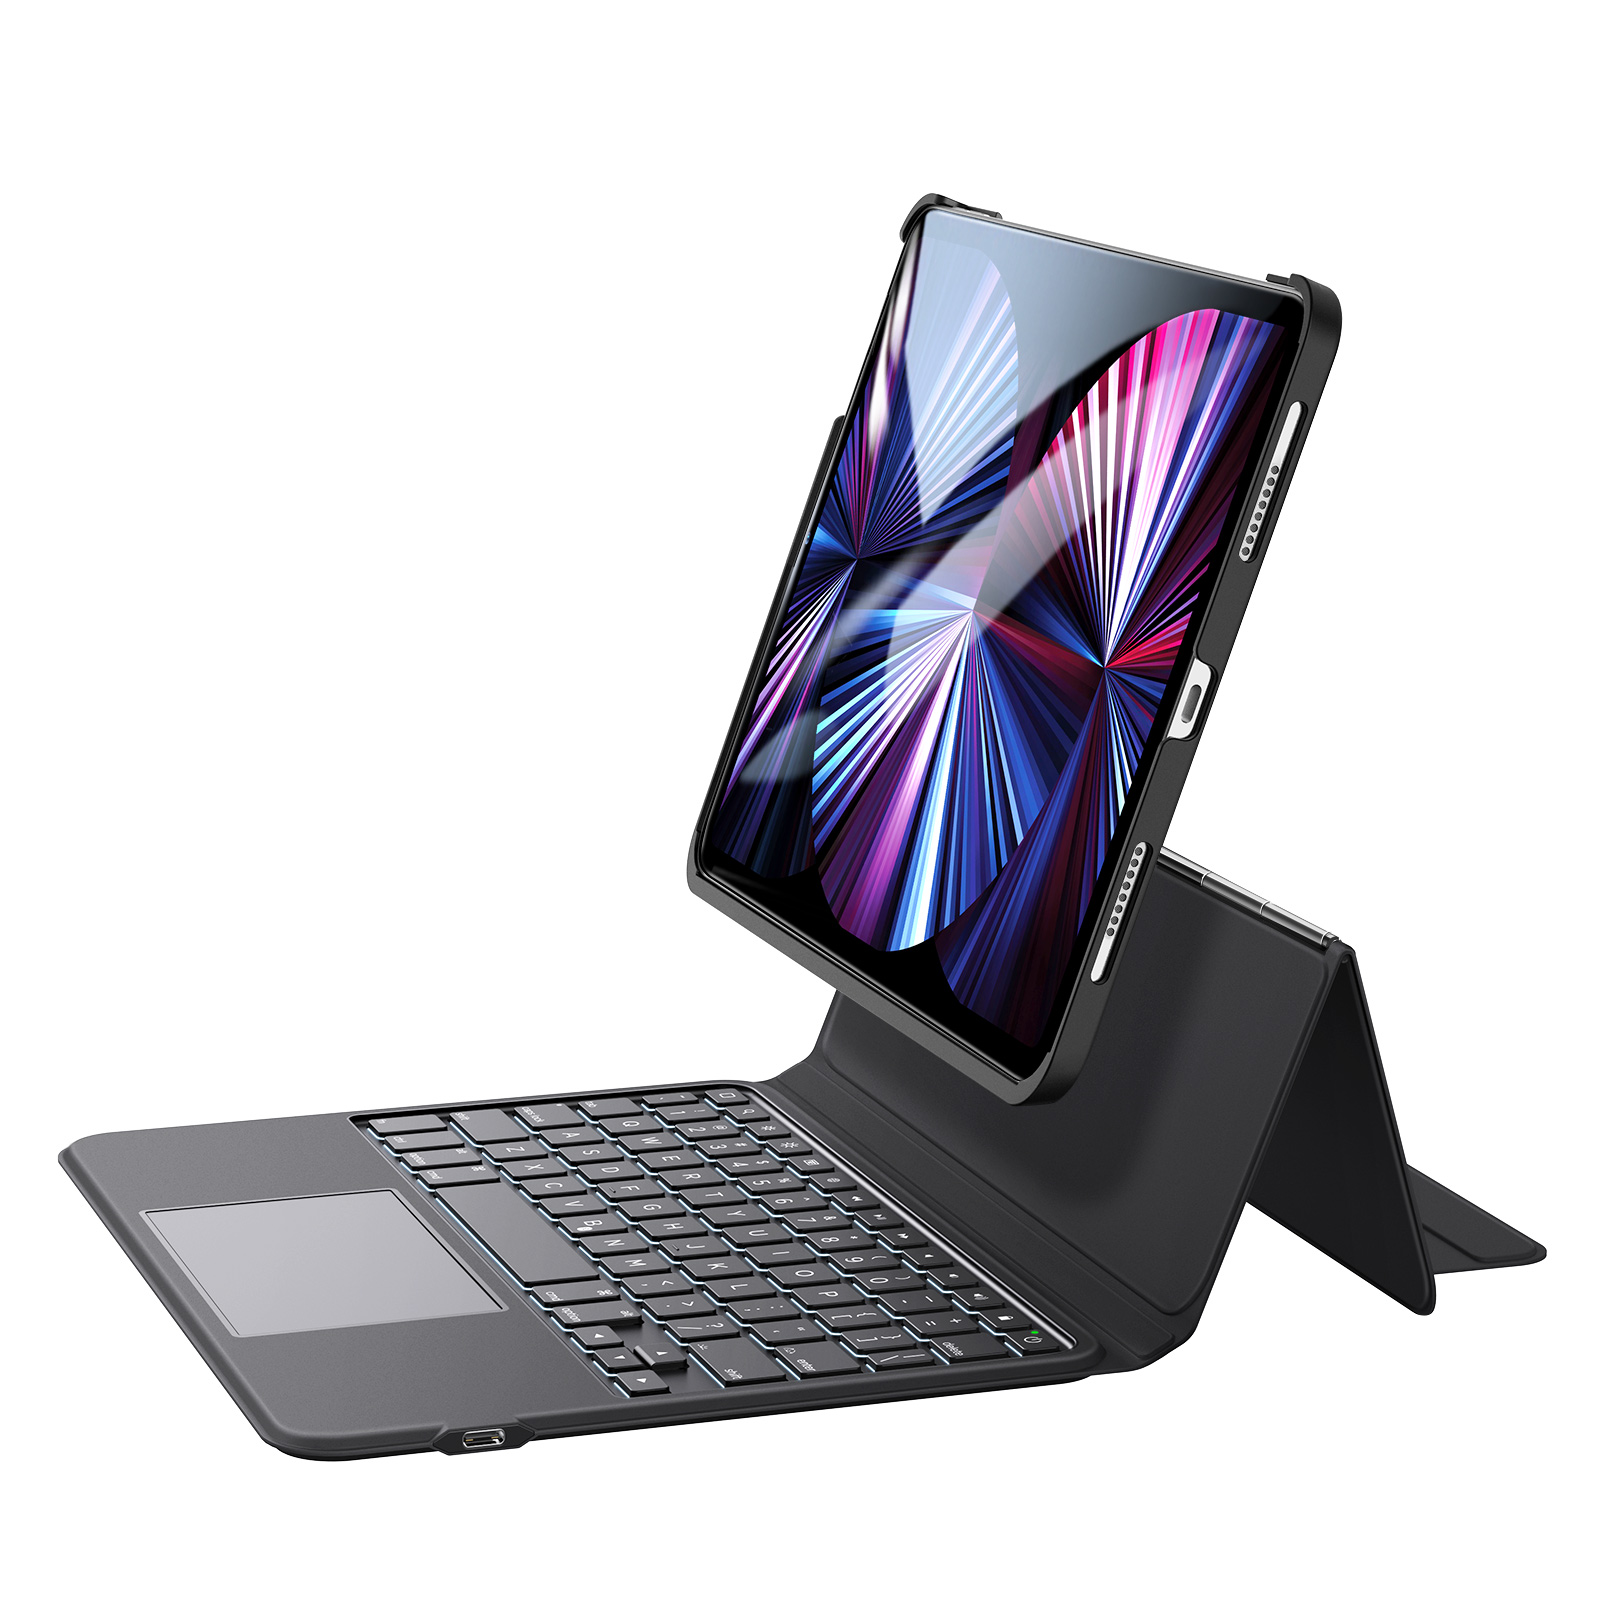
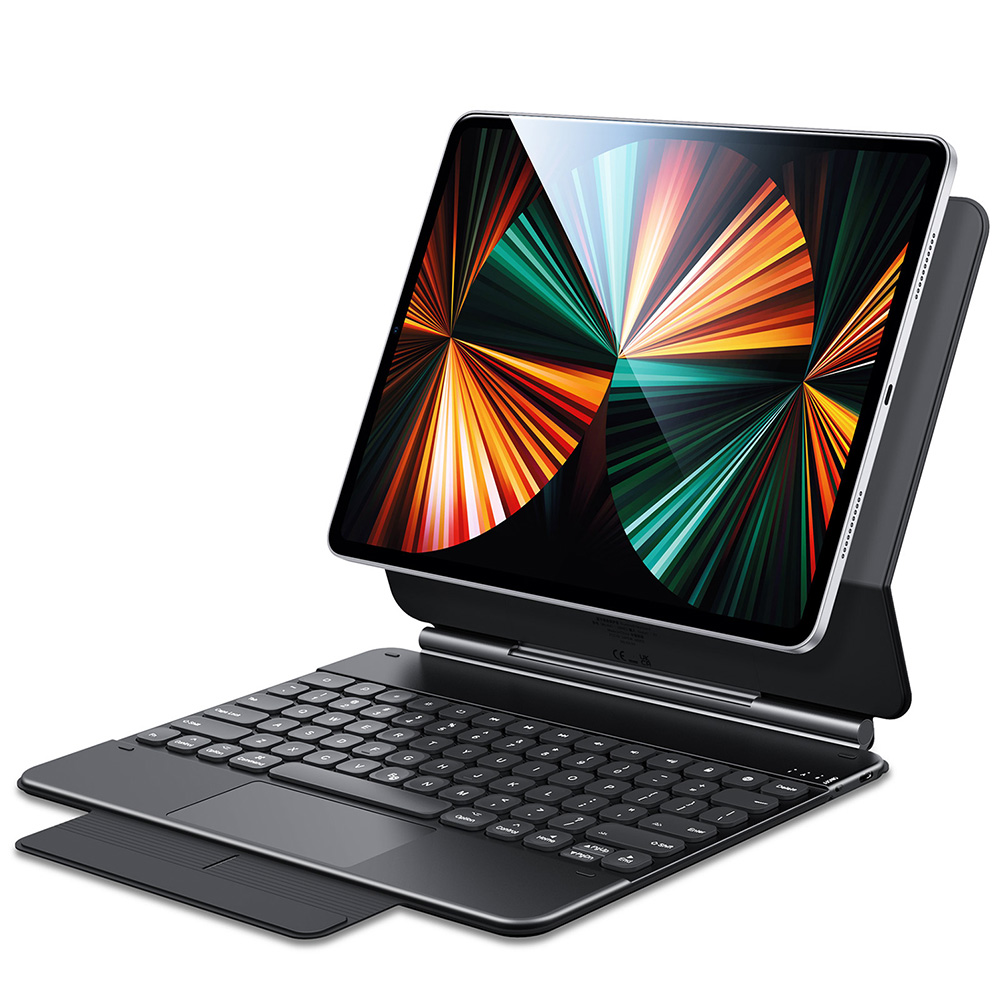
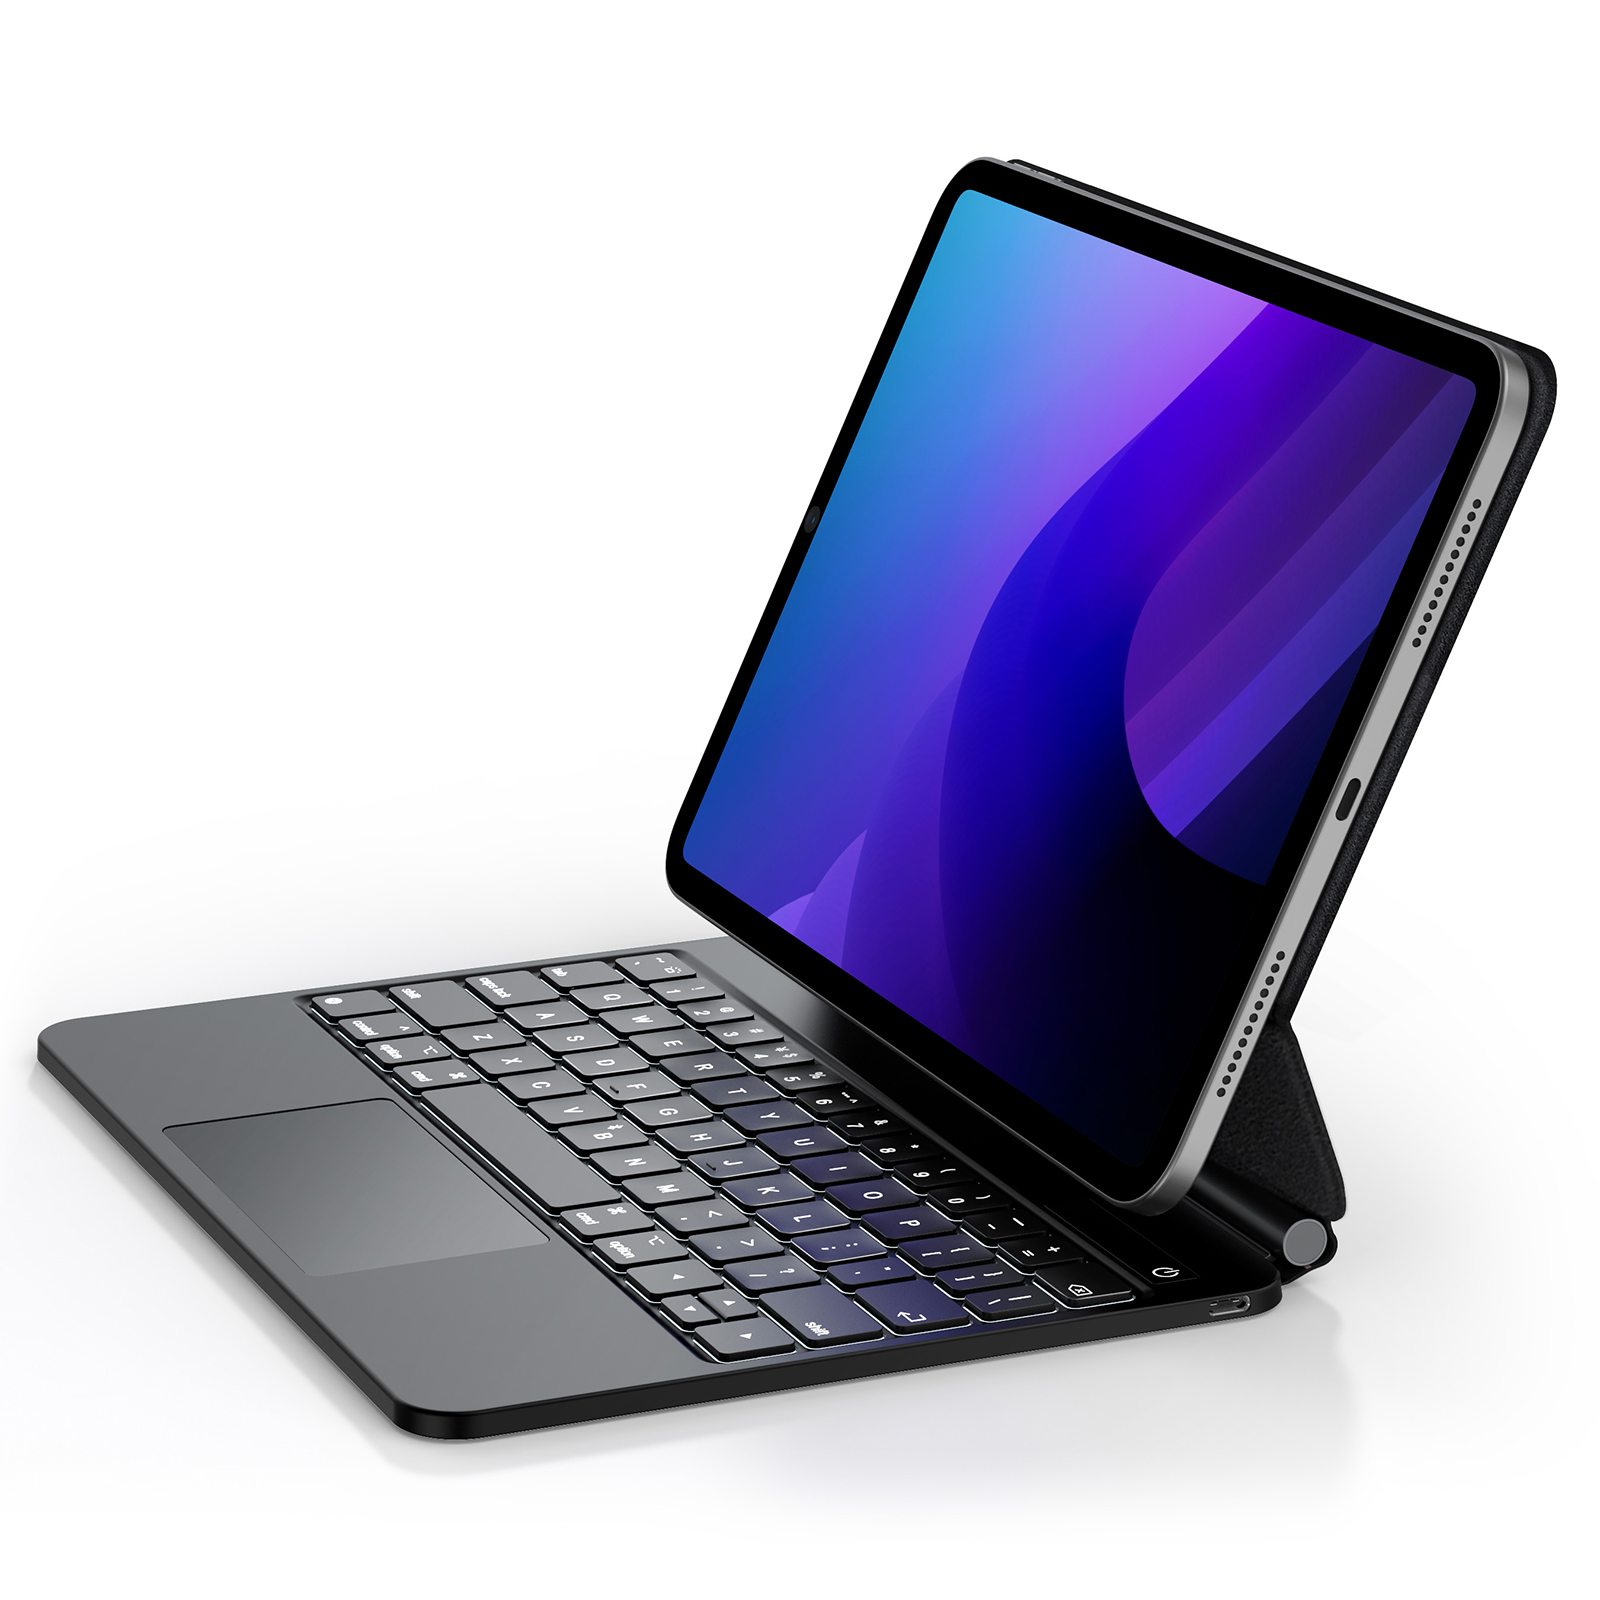
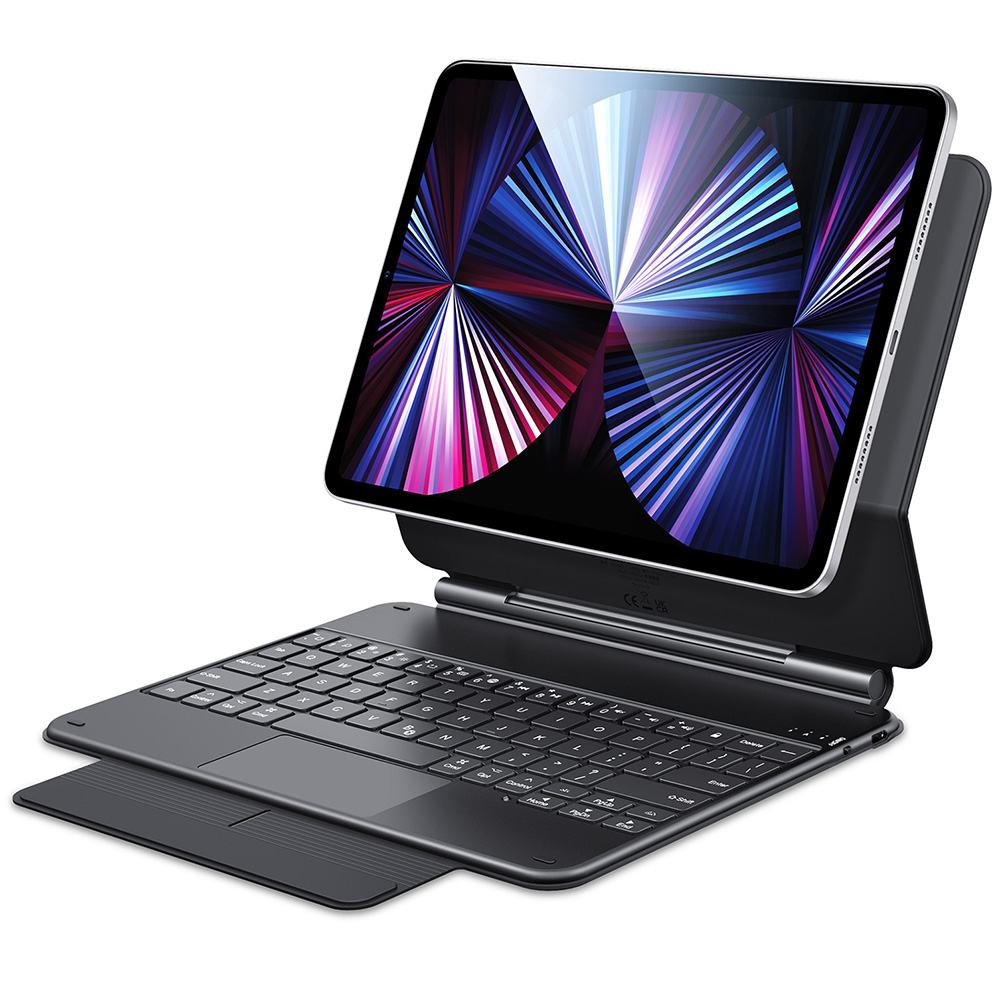
Save 30% OFF iPad Keyboard Case with code: KEY30

 Cases Fit iPad Air 6 (2024)?")
 Cases Fit iPad Air 12.9?")
